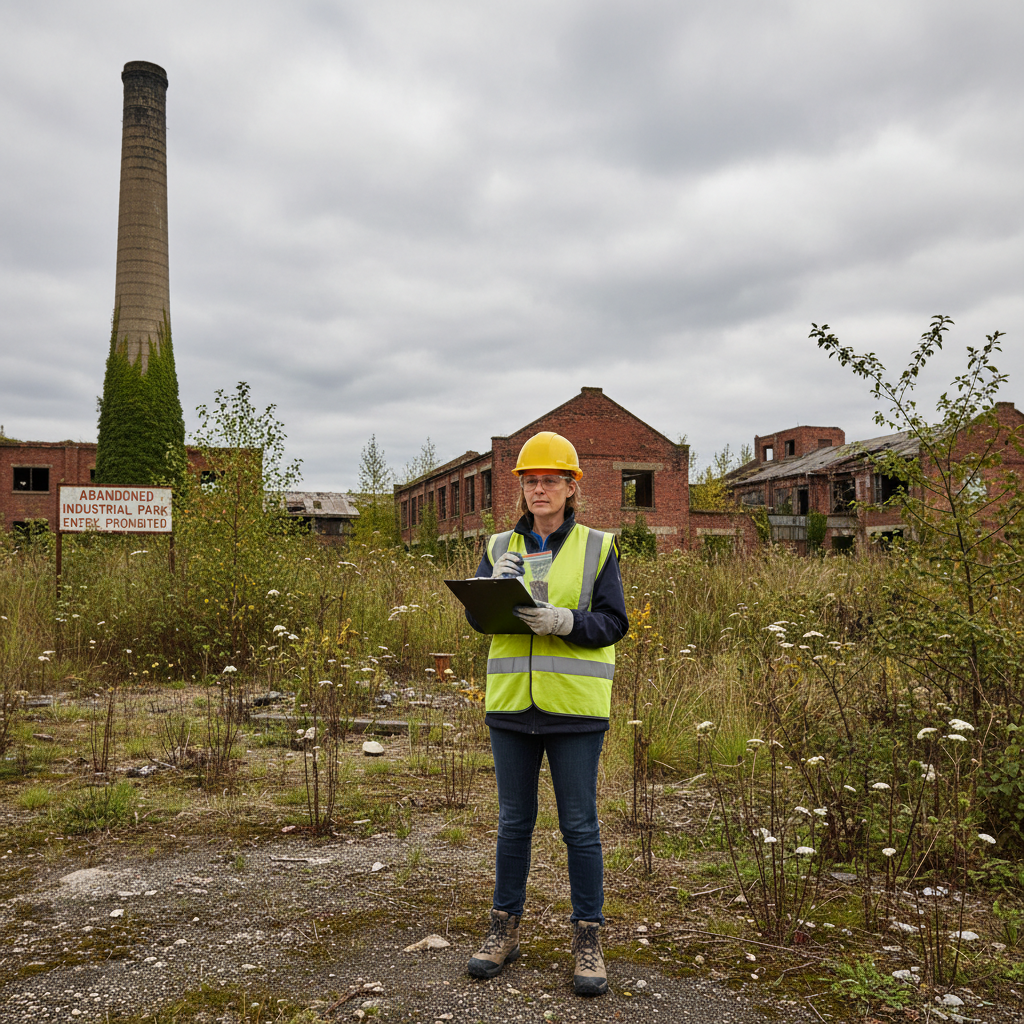
The site reconnaissance is the heart of a Phase I Environmental Site Assessment. It's where you ground-truth everything from the historical records review and identify recognized environmental conditions (RECs) that desk research might miss.
A thorough field visit requires systematic observation, comprehensive photo documentation, and disciplined note-taking. This checklist covers what to observe, photograph, and document during your Phase I ESA site visit under ASTM E1527-21.
Before You Leave the Office
Preparation prevents return trips. Before driving to the site:
- Review the historical records — Sanborn maps, aerial photos, regulatory database hits
- Identify areas of concern to target during the visit
- Confirm site access and any safety requirements (PPE, escorts)
- Charge devices, ensure GPS is functional
- Load or prepare your field forms (digital or paper)
- Check weather — some observations require dry conditions
Exterior Observations
Site Perimeter and Access
Walk the full perimeter before entering the interior. Document:
- Property boundaries — fencing, markers, encroachments
- Access points — driveways, gates, loading areas
- Adjacent properties — current uses, potential off-site sources of contamination
- Topography — drainage patterns, grading, fill areas
- Surface water — streams, ponds, ditches, stormwater features
- Stressed vegetation — dead or discolored plants in patterns suggesting subsurface contamination
- Staining — pavement staining, soil discoloration near buildings or equipment
Structures and Improvements
For each structure on the property:
- Building type and use — commercial, industrial, residential, agricultural
- Approximate age and condition
- Floor drains — note locations and where they discharge
- HVAC equipment — especially older units that may contain PCBs
- Electrical equipment — transformers, capacitors (potential PCB-containing equipment)
- Heating systems — fuel type, storage tanks visible?
Storage and Waste
- Above-ground storage tanks (ASTs) — contents, condition, secondary containment
- Underground storage tank (UST) indicators — fill ports, vent pipes, dispensers
- Chemical storage — drums, totes, chemical cabinets
- Waste disposal areas — dumpsters, roll-offs, waste accumulation
- Staining or odors near storage areas
- Hazardous substance labels — NFPA diamonds, DOT placards, SDSs
Utilities
- Sewer connections — sanitary, storm, combined
- Water supply — municipal or well?
- Septic systems — tank locations, drain field
- Natural gas — meter location, piping
Interior Observations
General Interior
- Floor condition — cracks, staining, patching (may indicate former sumps or drains)
- Wall and ceiling condition — staining, water damage
- Odors — chemical, petroleum, musty (mold), sewage
- Asbestos-suspect materials — floor tile, pipe insulation, ceiling tiles, roofing (note: visual observation only; do not disturb)
- Lead-based paint indicators — chipping paint in pre-1978 structures
Mechanical Areas
- Boiler rooms — fuel source, tank locations, piping
- Electrical rooms — transformer presence, PCB labels
- Maintenance areas — chemical storage, oil, solvents
- Floor drains — where do they go?
Photo Documentation Requirements
ASTM E1527-21 doesn't specify a minimum photo count, but thorough documentation protects you and your client. At minimum, photograph:
- All four sides of each structure
- Property boundaries and adjacent properties
- Any environmental concern (staining, tanks, drums, distressed vegetation)
- Each storage area, mechanical room, and utility connection
- Fill ports, vent pipes, and other UST indicators
- Relevant signage and labels
Pro tip: GPS-tag every photo. When a client or regulator asks "where exactly was that stain?" months later, embedded coordinates answer the question instantly.
Interviews
ASTM E1527-21 requires interviews with key knowledgeable parties:
- Current owner — history of site use, known environmental issues
- Current operator/tenant — daily operations, chemical use, waste handling
- Local government officials — permits, violations, complaints
- Previous owners/occupants (if reasonably ascertainable)
Document who you spoke with, when, and what they said. Digital forms with timestamp and recorder fields streamline this.
Common Mistakes During Site Visits
Rushing the exterior. The exterior walkabout reveals more RECs than the interior visit on most commercial/industrial sites. Give it proportional time.
Skipping adjacent properties. Off-site contamination sources are RECs too. Walk the perimeter and observe neighboring operations.
Insufficient photos. Take more photos than you think you need. Storage is free; return trips are not.
No GPS documentation. Coordinates for observation points, photo locations, and features of interest make your report defensible and your maps accurate.
Relying on memory for details. Record observations in real time, at the observation point. Notes written in the car after the visit miss details.
Digitizing Your Phase I Field Work
A Phase I ESA field checklist is a natural fit for digital collection:
- Structured checklists ensure nothing gets skipped
- GPS coordinates auto-populate for every observation
- Photos attach directly to the relevant checklist item
- Required fields prevent incomplete documentation
- Export to PDF for the report appendix
FieldTap includes Phase I ESA field checklists aligned with ASTM E1527-21, with GPS-tagged photos, offline capability, and PDF export. Start your free trial before your next site visit.